Travel photos worth keeping (with the camera you own)
Here's the secret the camera shops won't tell you: the gear is almost never the problem. The phone in your pocket is more capable than the professional kit of twenty years ago, and the difference between a forgettable holiday snap and a photo you'd frame has very little to do with megapixels. It comes down to light, timing, and a handful of framing habits anyone can learn in an afternoon. Master those and your existing camera is more than enough.
This isn't a technical guide full of settings. It's the short list of things that actually move a photo from "meh" to "oh, that's lovely" — the stuff worth practising before you ever think about buying a lens.
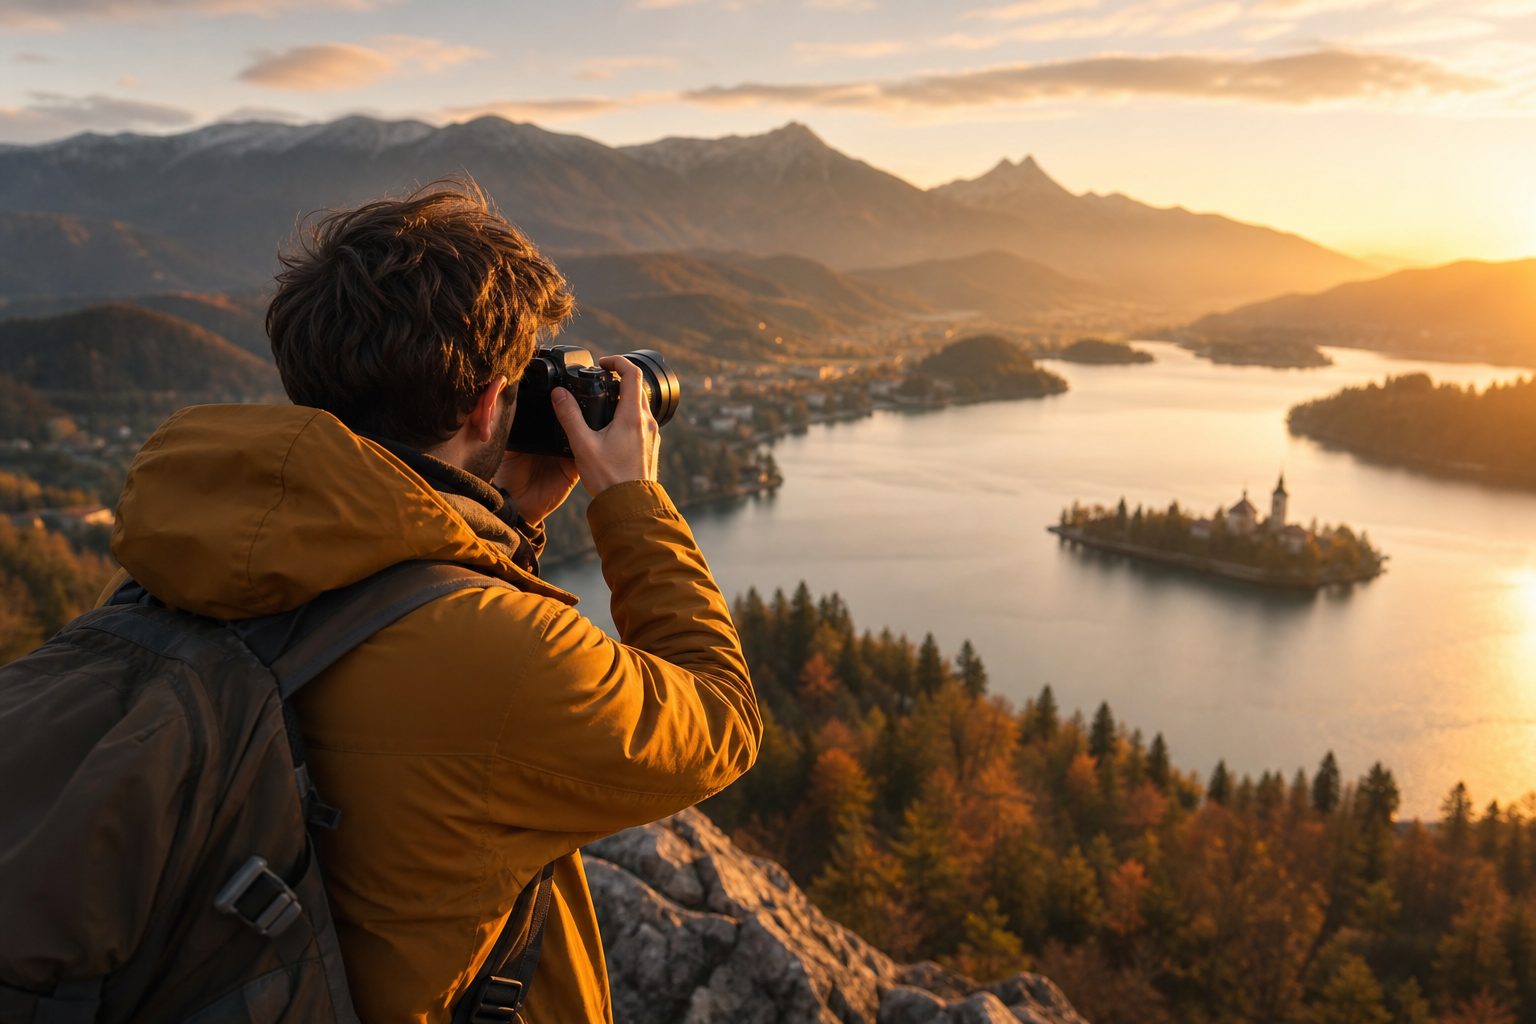
Chase the light, not the landmark
If you learn one thing, learn this: light is the photograph. The same scene is flat and lifeless at harsh midday and magical in the soft, warm, low light of early morning and late afternoon — the "golden hours" just after sunrise and before sunset. Photographers plan their days around light, and you can too. Shoot the big views early or late, use the bright middle of the day for shade, interiors, markets and lunch, and you'll transform your results without touching a single setting.
The best times to shoot
- Golden hour — the warm hour after sunrise and before sunset. Soft, flattering, golden.
- Blue hour — the dusky window just after sunset, gorgeous for cities and lights.
- Overcast days — a giant softbox; perfect for people, markets and detail.
- Avoid harsh noon for big landscapes; save it for shade and interiors.
Learn a few framing habits
Composition is just deciding what goes where in the frame, and a few simple habits cover most situations. Place your main subject off-centre rather than dead in the middle. Use natural lines — a road, a river, a railing — to lead the eye into the scene. Look for a frame within the frame, like an archway or a window. And give a sense of scale by including something human or familiar against the grand stuff. None of these are rules so much as nudges, and after a day of consciously using them they become automatic.
Get closer, and watch your background
Two quick fixes solve a huge share of disappointing photos. First, get closer — most amateur shots try to cram in too much and end up with a tiny, lost subject; fill more of the frame with the thing you actually care about. Second, check what's behind your subject before you press the shutter. A distracting background — a bin, a pole growing out of someone's head, a chaotic clutter — ruins an otherwise good photo, and a small step left or right usually fixes it. Train yourself to scan the edges and the background, not just the centre.
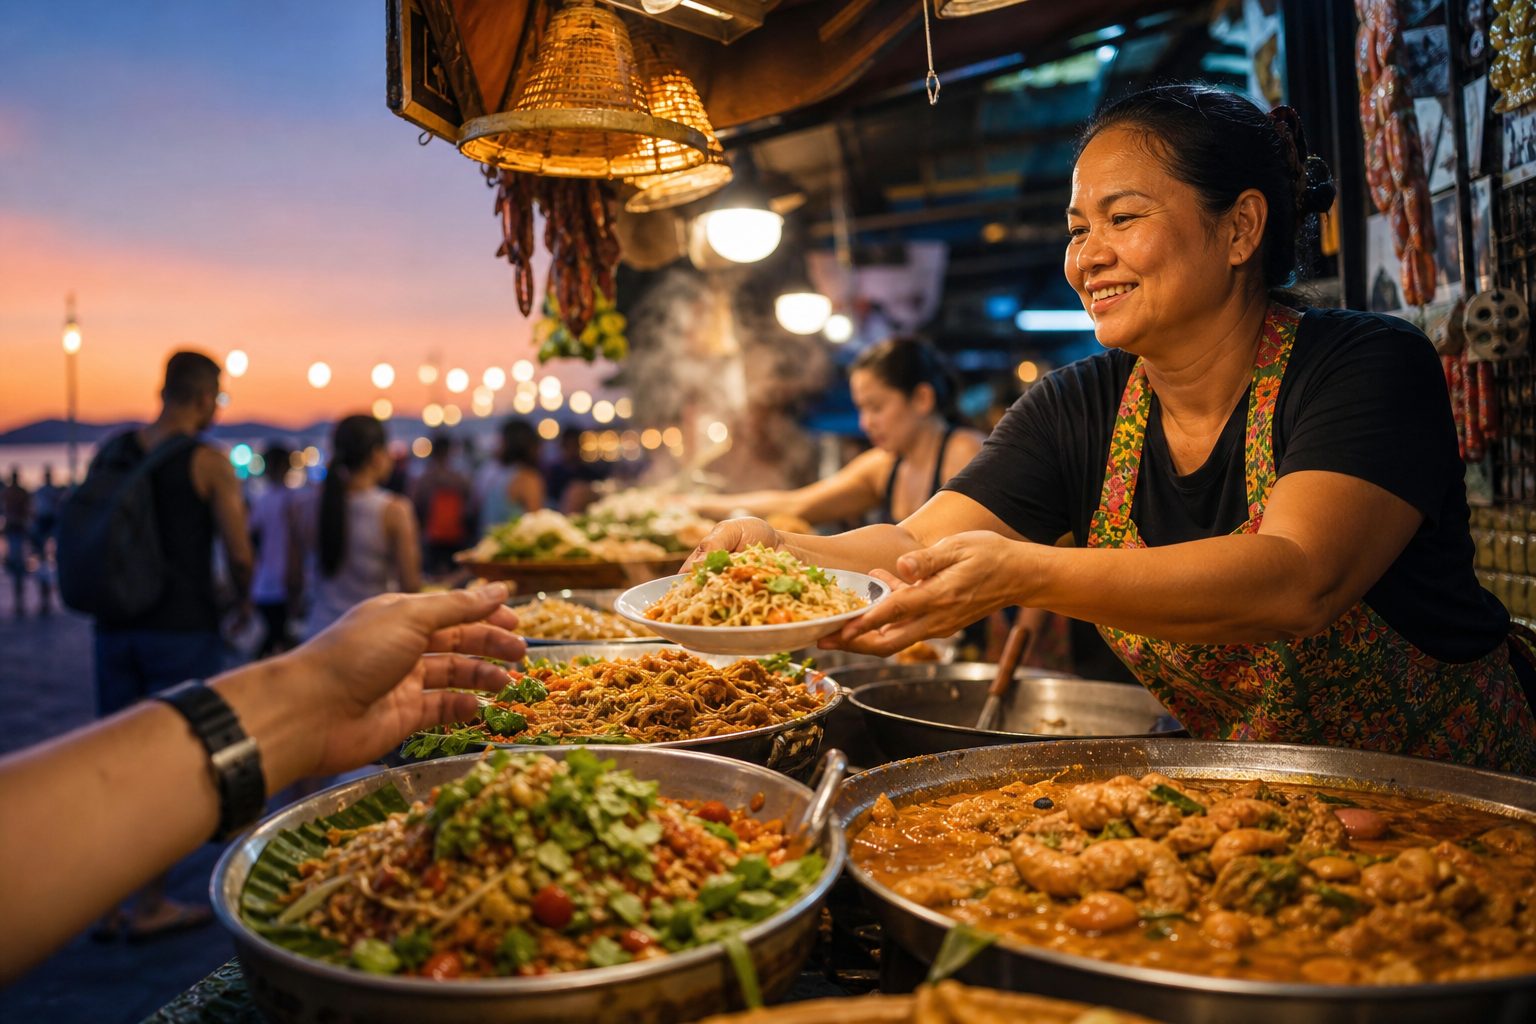
Photograph the small and the human, not just the famous
Everyone comes home with the same shot of the same monument. The photos you'll treasure are usually the smaller, more human ones: the texture of a market, hands making something, a quiet street, the look on a friend's face. These are the images that actually capture how a place felt, rather than proving you were there. Shoot the details and the people (with courtesy and consent) alongside the big sights, and your collection will tell a real story instead of a postcard one.
Habits that quietly upgrade every shot
- Tap to focus on your subject and lock exposure before shooting.
- Keep horizons level — a tilted sea is the giveaway of a rushed photo.
- Take a few frames, not one; you'll thank yourself later.
- Clean your lens — a smudged phone camera is the silent killer of sharpness.
- Shoot a little wider than you need, so you can crop with room to spare.
Put the camera down sometimes
The final, most important tip is counter-intuitive: don't photograph everything. There's a real risk of experiencing your whole trip through a screen, collecting images of moments you never actually lived. Shoot deliberately, then put the camera away and simply be somewhere. The best travel photographers are present first and photographers second — and paradoxically, that presence is exactly what produces the photographs that feel alive. A trip is not a content shoot. Take the few shots that matter, then look up.
Better travel photos, no new gear
- Shoot in golden and blue hour; avoid harsh midday for big views.
- Compose off-centre, use leading lines, and add a sense of scale.
- Get closer and check your background before pressing the shutter.
- Photograph details and people, not just the famous landmark.
- Take the shot, then put the camera down and live the moment.
Practise these on an ordinary day at home and they'll be second nature by the time you travel. The camera you own is ready. The only upgrade you need is in how you see.
You might also like
 Guide
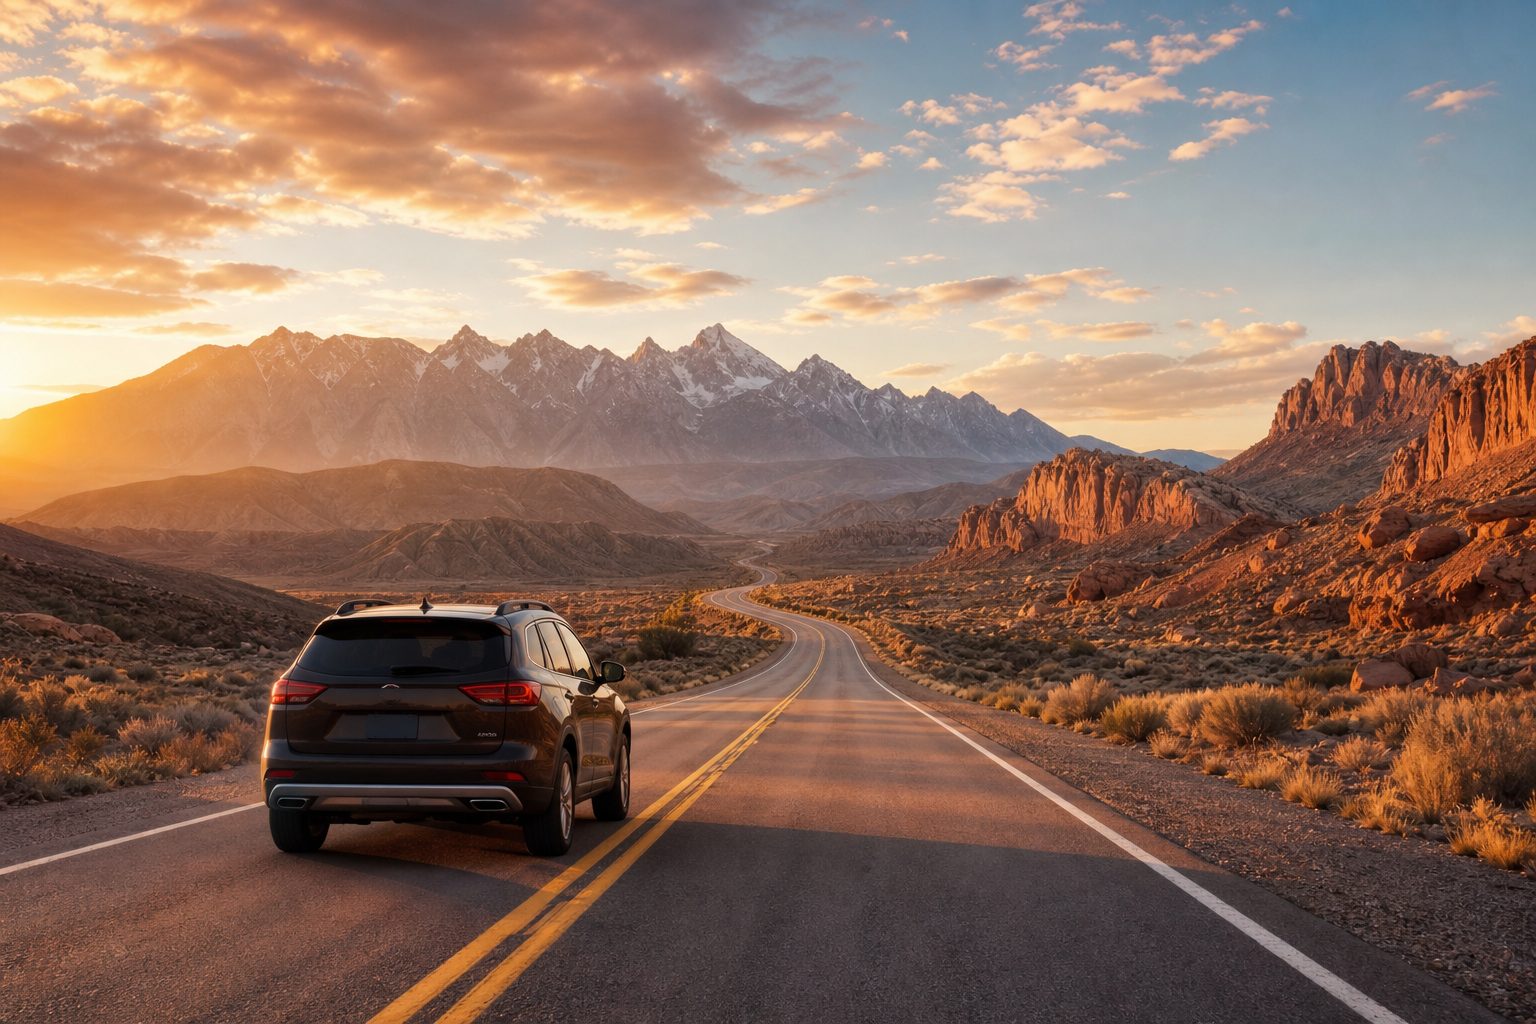
GuideThe road-trip playbook
All those overlooks worth photographing.
 Tip
TipFinding the food locals actually eat
And how to shoot it before it gets cold.